A practical apparel photography guide covering flat lays, ghost mannequins, fabric texture, drape, and color accuracy.
The first time I tried to photograph clothing, I thought, how hard can it be? Just lay the garment down, point the camera, and shoot.
The results? The dress looked like a tablecloth. The T-shirt showed no shape whatsoever. The knitwear had zero texture. And to make things worse, a customer complained about colour discrepancy—I'd been staring at my screen thinking the colours looked perfectly fine.
Eventually I figured it out: the problem wasn't my camera or my lighting. It was my approach. Different garments need different techniques. Colour accuracy requires controlling the entire chain from light source to monitor. And showing texture isn't about even lighting—it's about side lighting.
Here's everything I've learned, so you don't have to repeat my mistakes.
There's No Universal Method
Many sellers use the same technique for everything—flat lay everything, or hang everything. It's efficient, but it doesn't work.
I used to do this too. T-shirts looked fine flat, but dresses looked like tablecloths, blazers lost all their structure, and activewear showed nothing about fit.
The reason is simple: different clothes need to communicate different things. A T-shirt is about pattern and colour. A dress needs to show drape and silhouette. A blazer demands structure and tailoring. Activewear has to look fitted. Use the same method for all of them, and you'll always lose something important.
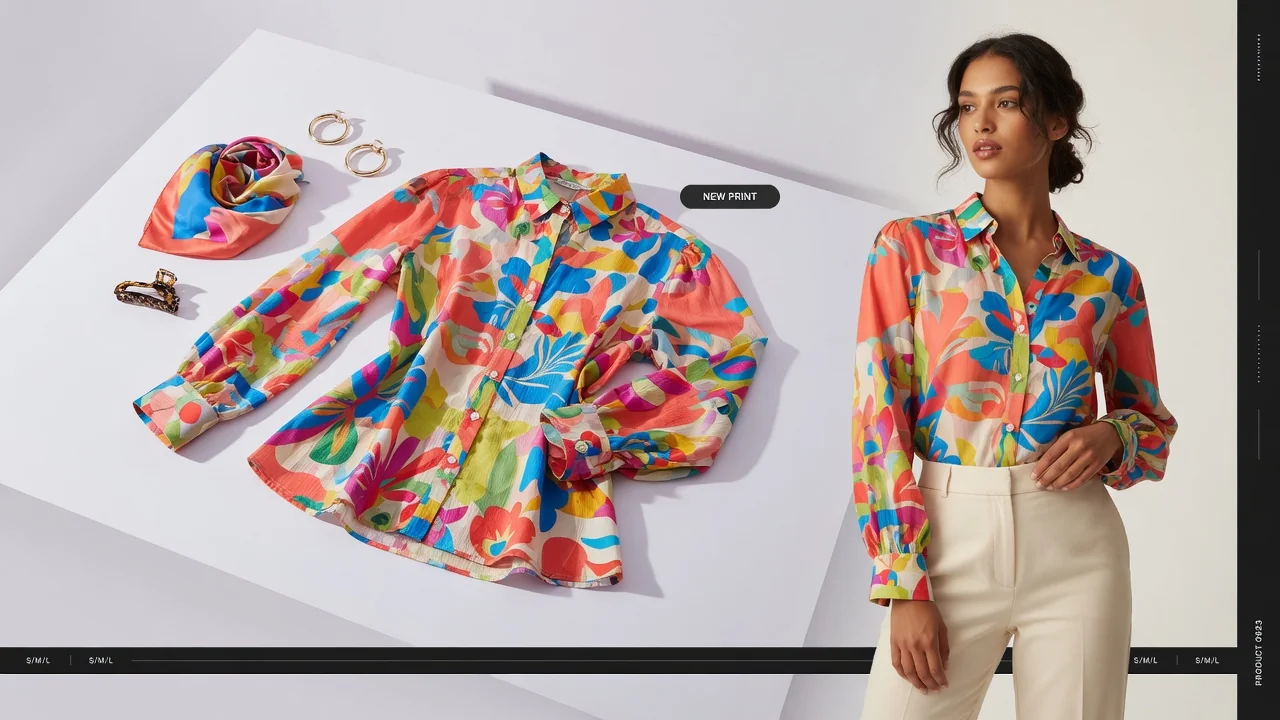
Research from Baymard Institute found that shoppers need between 5 and 15 product images before they feel confident enough to buy clothing. A single photo style isn't enough—you need a mix, tailored to what you're selling.
8 Ways to Photograph Clothing
Here's a quick comparison table:
| Method | Best for | Pros | Cons |
|---|---|---|---|
| Flat lay | T-shirts, scarves, baby clothes, basics | Cheap, simple, batch-friendly | No drape or 3D shape |
| Hanger | Lightweight blouses, simple tops | Quick, good for high volume | Can distort shoulders; no fit info |
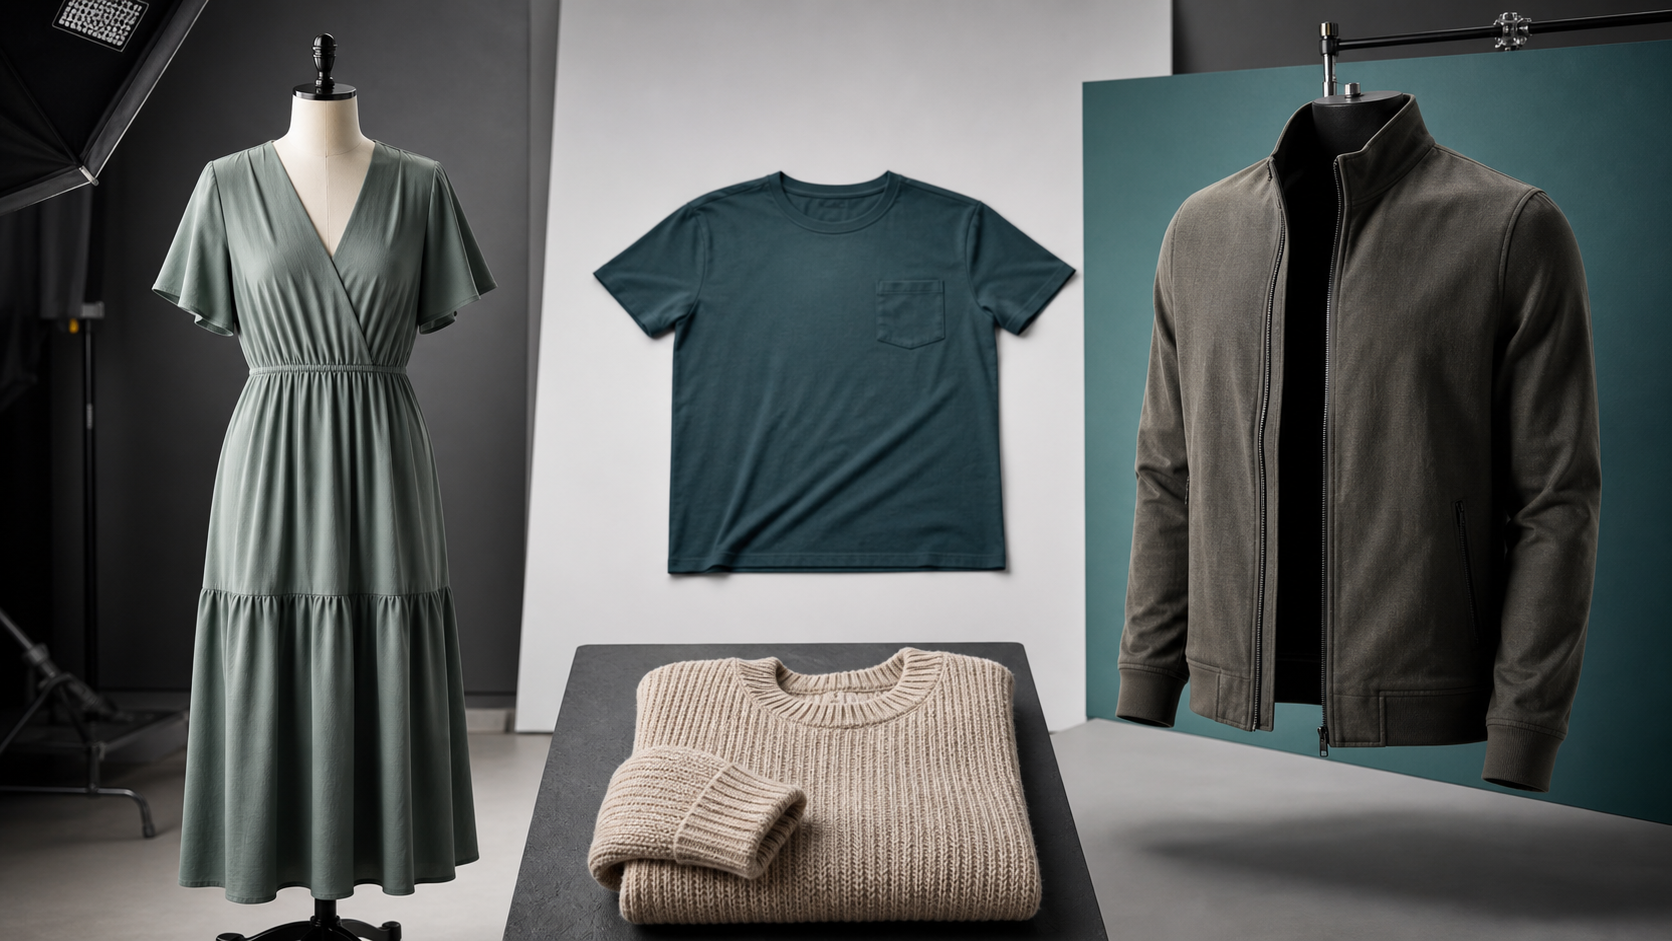
| Mannequin | Dresses, jackets, suits, trousers | Shows 3D shape, shoulder and waist | Looks lifeless; needs post-processing |
| Ghost mannequin | Coats, shirts, knitwear, trousers, underwear | Professional; shows shape without distraction | Requires interior shots and compositing |
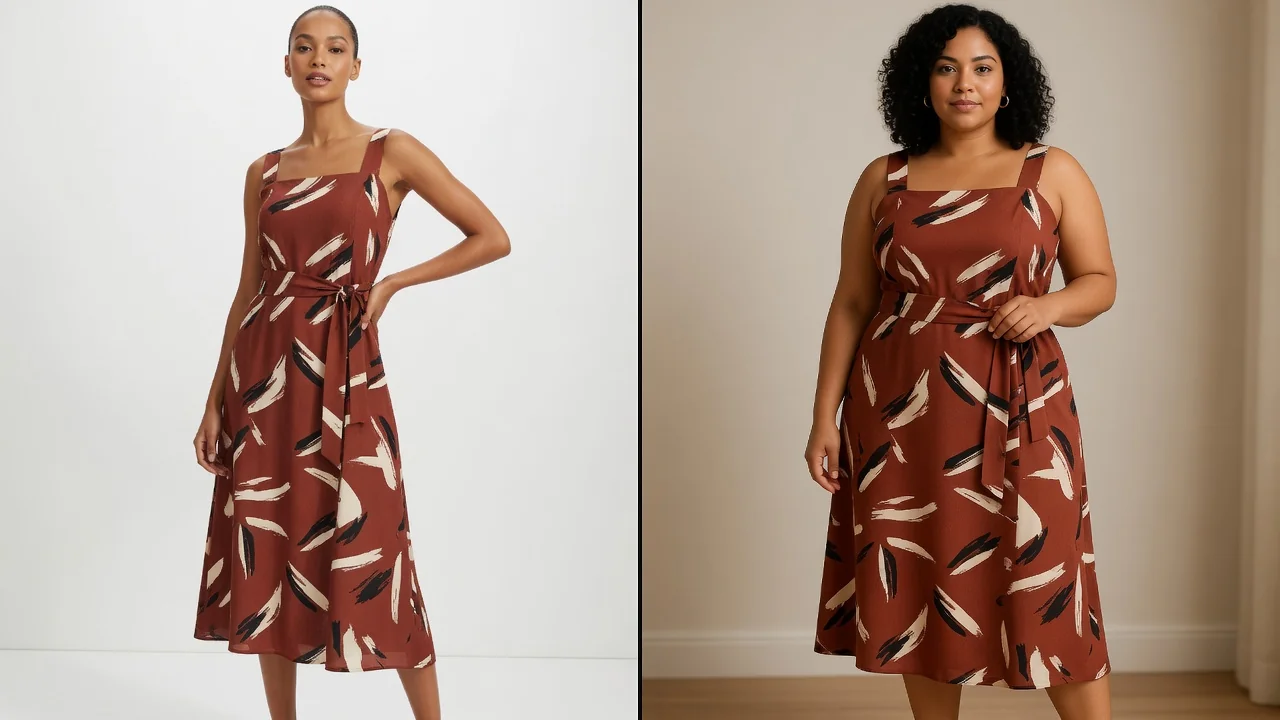
| Model | Dresses, activewear, premium outerwear | Best for fit, drape, and styling context | Most expensive; coordination needed |
| Folded | Multi-colour T-shirt stacks, gift sets | Good for showing colour range | No fit or shape information |
| Detail shots | Knitwear, embroidery, hardware | Shows texture and craftsmanship | Must pair with full-body shots |
| Lifestyle | Brand campaigns, social media | Creates atmosphere and context | Can sacrifice product accuracy |
The key takeaway: no single method covers everything. You need to combine them based on what you're selling.
How to Shoot Specific Garments
This is the bit I wish someone had explained to me earlier. Here's what actually works, item by item:
| Garment | Recommended method | Key points |
|---|---|---|
| T-shirts | Flat lay or ghost mannequin | Don't let creases hide prints; always include neckline close-up |
| Dresses | Mannequin, ghost mannequin, or model | Must show drape; flat lays are essentially useless here |
| Blazers/jackets | Ghost mannequin or model | Structurally complex—collars, lapels, shoulder pads, linings all matter |
| Trousers | Mannequin, ghost mannequin, or model | Rise, waistband, leg taper, and inseam length are critical |
| Knitwear | Ghost mannequin or side-lit flat lay | Texture is everything—use side lighting for stitch definition |
| Activewear | Model or mannequin | Customers need to see compression, stretch, and fit |
| Underwear | Ghost mannequin or model | Coverage, waistband shape, leg openings all matter |
| Shoes/accessories | Studio packshot + detail shots | Side, front, heel, sole, and material details |
The pattern is straightforward: the more a garment depends on fit and drape, the less you can rely on flat lays. The more it depends on texture and craftsmanship, the more detail shots you need.
Three Things That Make or Break Your Photos
1. Shape and Drape
When clothes look "off" in photos, it's usually not the equipment—it's the positioning.
I made this mistake shooting a dress once—camera was too high, and the skirt looked compressed. Couldn't see the length at all. Turns out, for tops your camera should be level with the chest; for bottoms, level with the hip.
Preparation matters too. If you're using a mannequin, pin and tuck loose areas. Position sleeves so you can't see the dark void inside the armhole. For model shoots, keep poses natural and static—product photography isn't editorial.
2. Texture and Detail
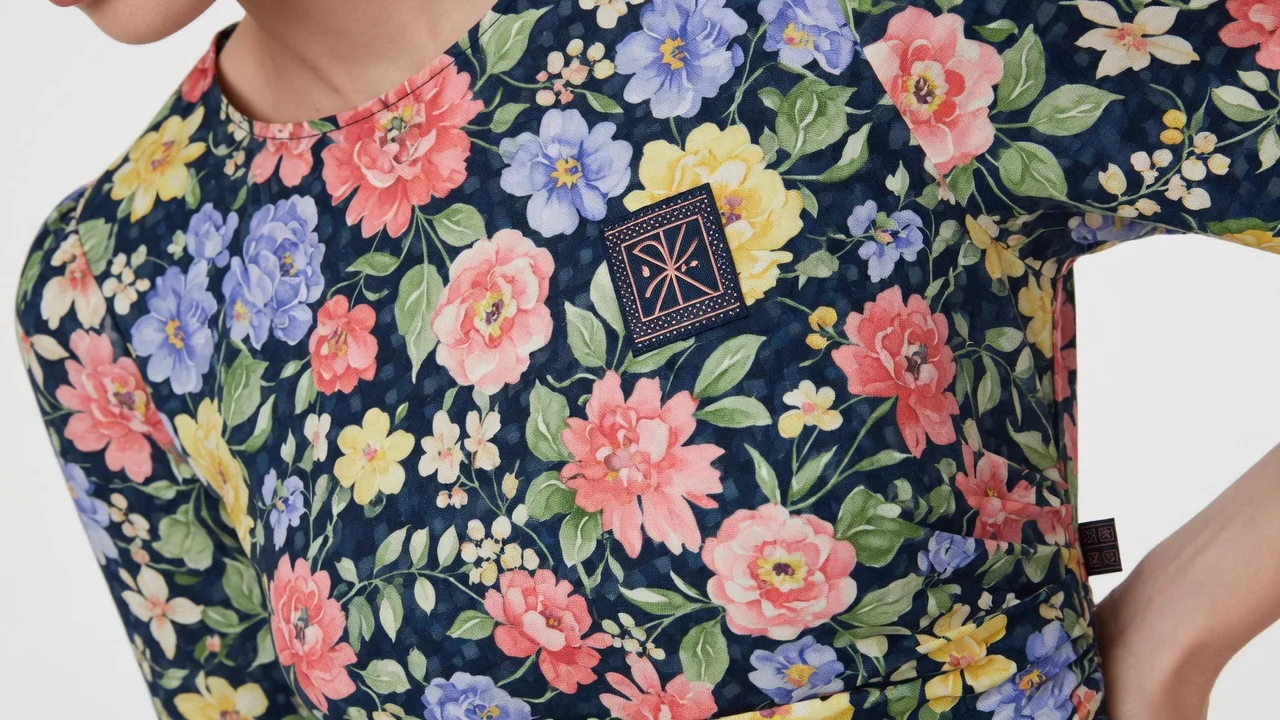
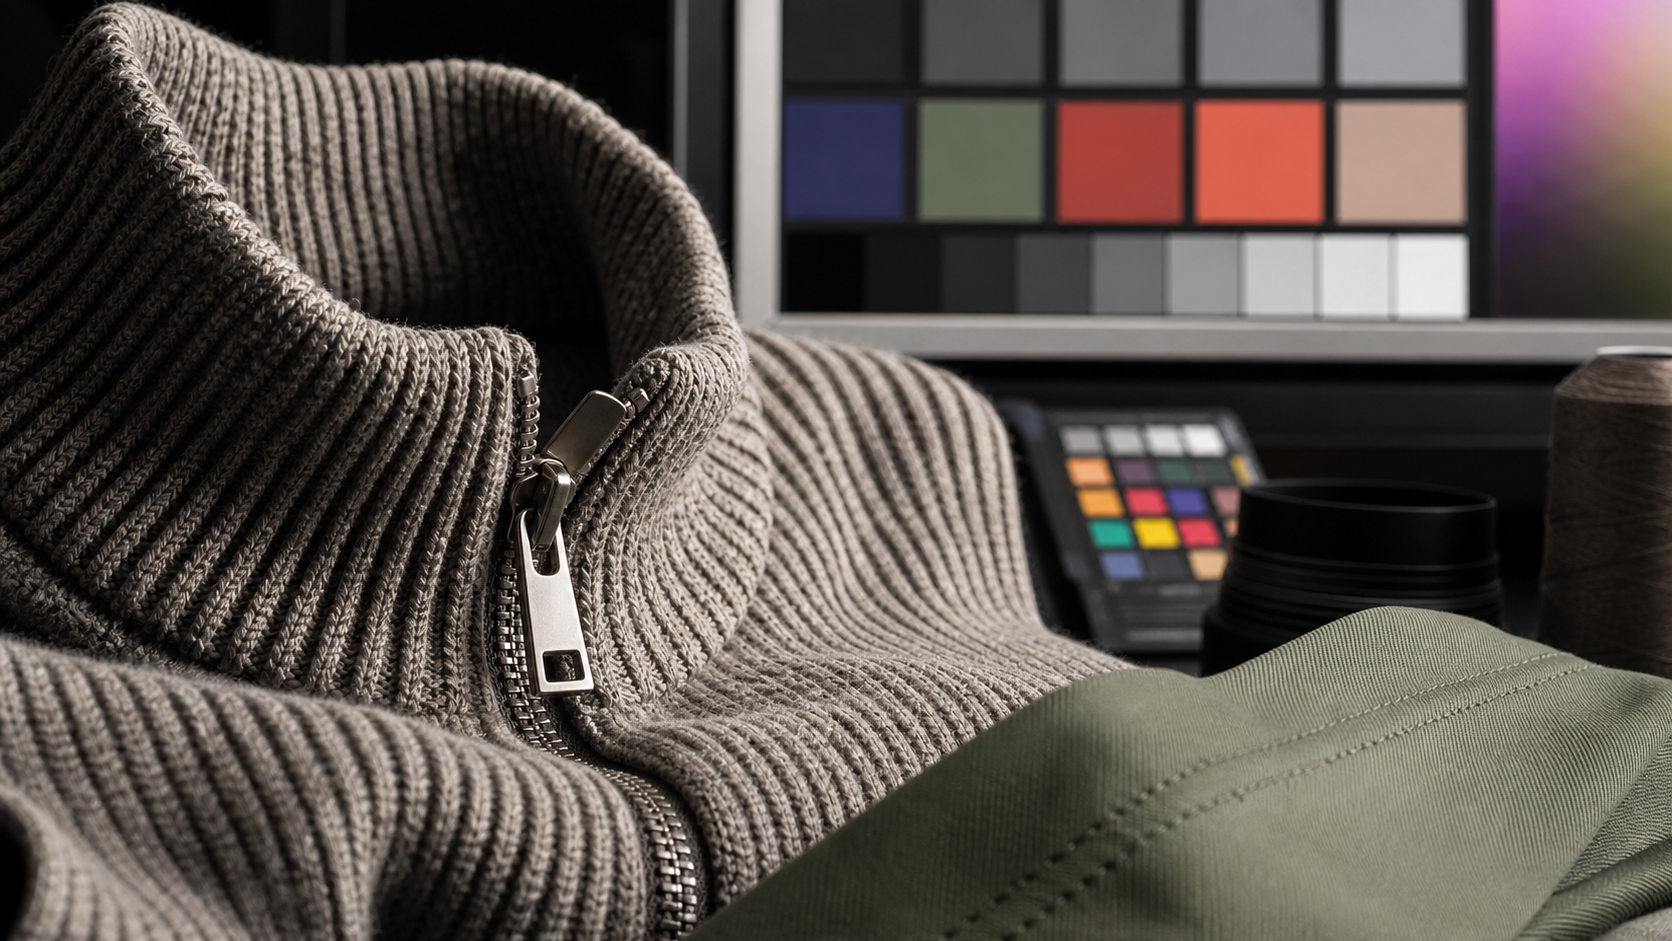
Here's something I didn't know at first: texture comes from shadows and highlights, not from even lighting.
I once shot knitwear with front lighting and it looked completely flat—like a plain piece of fabric. Switched to side lighting, and suddenly every stitch and fibre was visible.
This is why detail shots are non-negotiable for knitwear, embroidery, prints, and hardware. Use a macro lens to capture fabric texture, stitching quality, and decorative elements up close.
3. True Colour
This is the one that generates the most customer complaints—and the one I got wrong most often.
I used to think colour accuracy was just about camera settings. Turns out it's a chain: consistent lighting → correct white balance → calibrated monitor → proper colour profile export → platform delivery.
Any link in that chain breaks, and the colour shifts. Once I thought my colours looked spot-on, but the customer complained about severe discrepancy. Turns out my monitor wasn't calibrated—it was running too blue.
When shooting: avoid harsh light, direct sunlight, strong fluorescent bulbs, and flash. Use two or three softboxes positioned from the sides and above.
In post-processing: export web images in sRGB colour space. Monitor calibration is the step most people skip, but it genuinely matters.
Three Fabric Types That Are Particularly Tricky
| Fabric type | The problem | Solution |
|---|---|---|
| White on white background | Garment blends into background | Use off-white or light grey backdrop for edge contrast |
| Black clothing | Detail disappears into shadow | Add fill light with white reflector cards |
| Shiny/satin/coated fabrics | Uncontrolled specular highlights | Use soft light; shape the highlights first |
Where AI Tools Fit In
There are plenty of AI tools now that can generate product photo backgrounds or even create model imagery. My honest take: use them carefully, and understand the limits.
| Scenario | Recommendation |
|---|---|
| Creating white background, studio, or lifestyle variants from clean shots | ✅ Good fit for AI |
| Unifying catalogue look | ✅ Good fit for AI |
| Speeding up output with good source material | ✅ Good fit for AI |
| Structurally complex garments (blazers, unusual collars) | ⚠️ Needs human review |
| Items with intricate textures, logos, embroidery | ⚠️ Needs human review |
| High-value, high-return-risk products | ⚠️ Needs human review |
| Garments where drape and fit are the selling points | ❌ Don't rely on AI alone |
| Items with logos, small text, detailed embroidery | ❌ Don't rely on AI alone |
| White, black, metallic, satin, coated, or semi-transparent fabrics | ❌ Don't rely on AI alone |
The principle is simple: AI tools are best at extending good source imagery, not replacing it.
A quick note on ProductShotAI—it can generate white background, studio, and lifestyle scenes from your existing product photos, but only if your source images are clean, well-lit, and clearly defined. AI extends good images; it can't rescue bad ones.
Final Thoughts
Good clothing photography isn't about having the most expensive gear. It's about understanding what information each photo needs to convey—and choosing the right methods for each garment.
Flat lays for basics. Ghost mannequins for structured pieces. Model shots when fit and drape matter. Detail shots for texture and craftsmanship.
Get colour accuracy right across the whole chain—from lighting to monitor calibration to export. Handle white, black, and shiny fabrics with their specific challenges in mind.
It took me a while to figure all this out. Hopefully this saves you some of the same headaches. Do these fundamentals well, and your product photos will look both appealing and honest—rather than appealing until the customer opens the parcel.