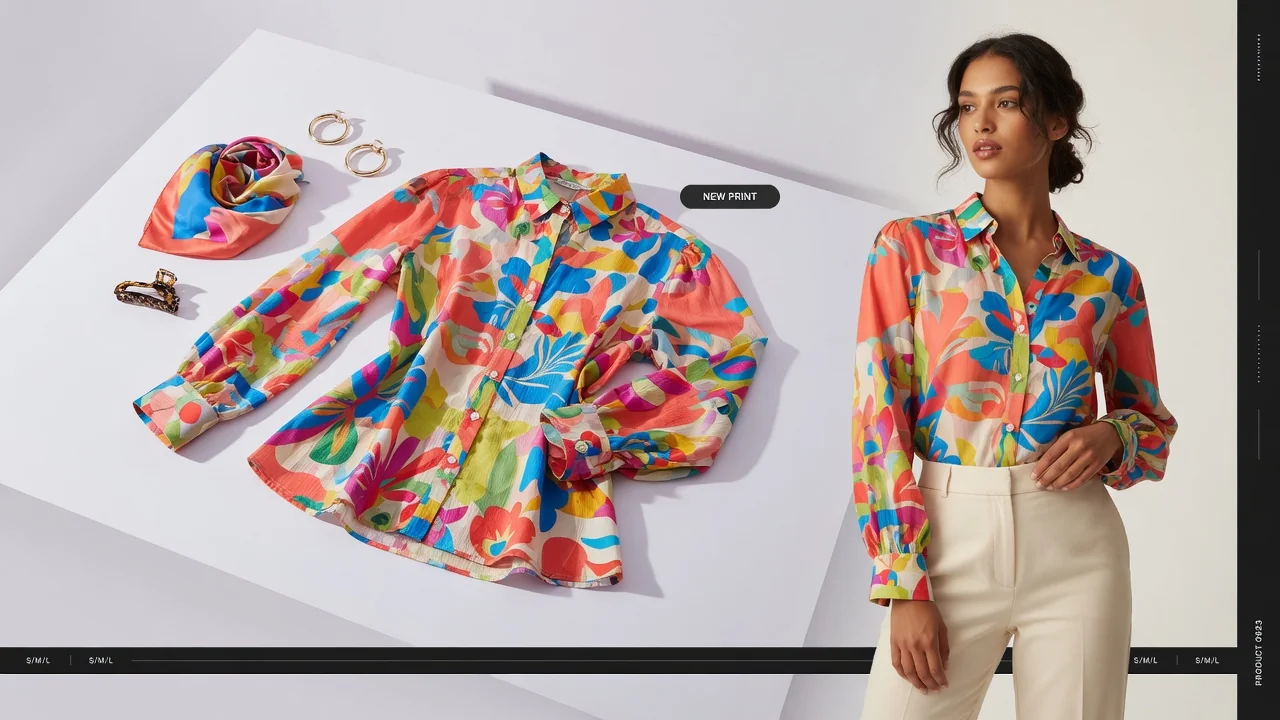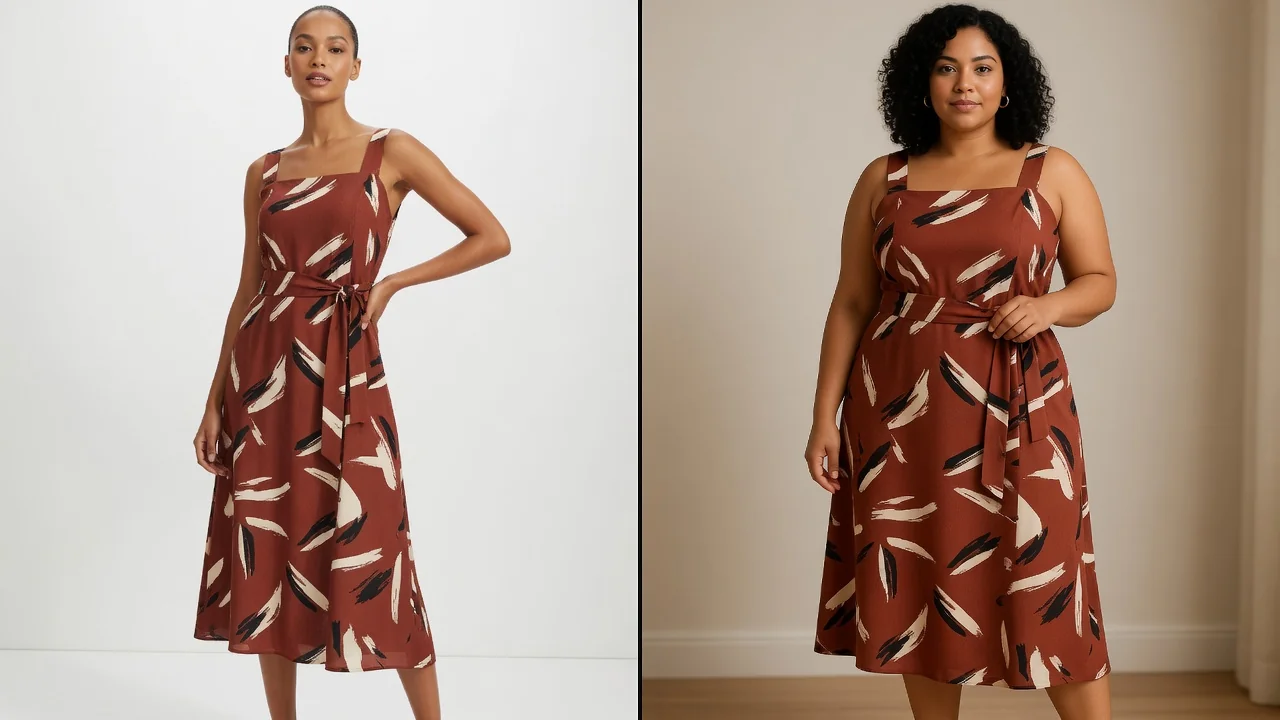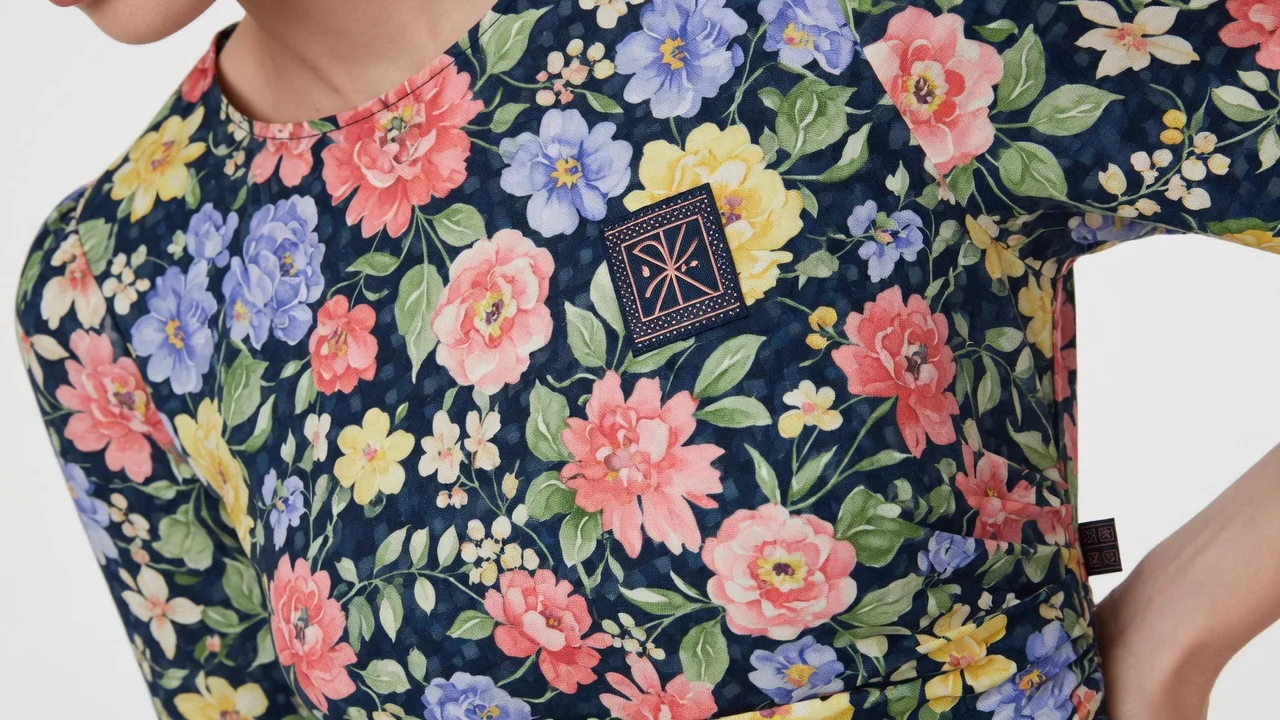
A practical workflow for taking sellable ecommerce product photos with a phone, simple setup, and AI-powered variations.
I used to think great product photography required a $3,000 camera, a rented studio, and a photographer who spoke in f-stops.
Then I launched my first Shopify store.
The quote I got from a local product photographer? $1,200 for 20 images. Per SKU. With a two-week turnaround.
I had 47 products.
Do the math. I'll wait.
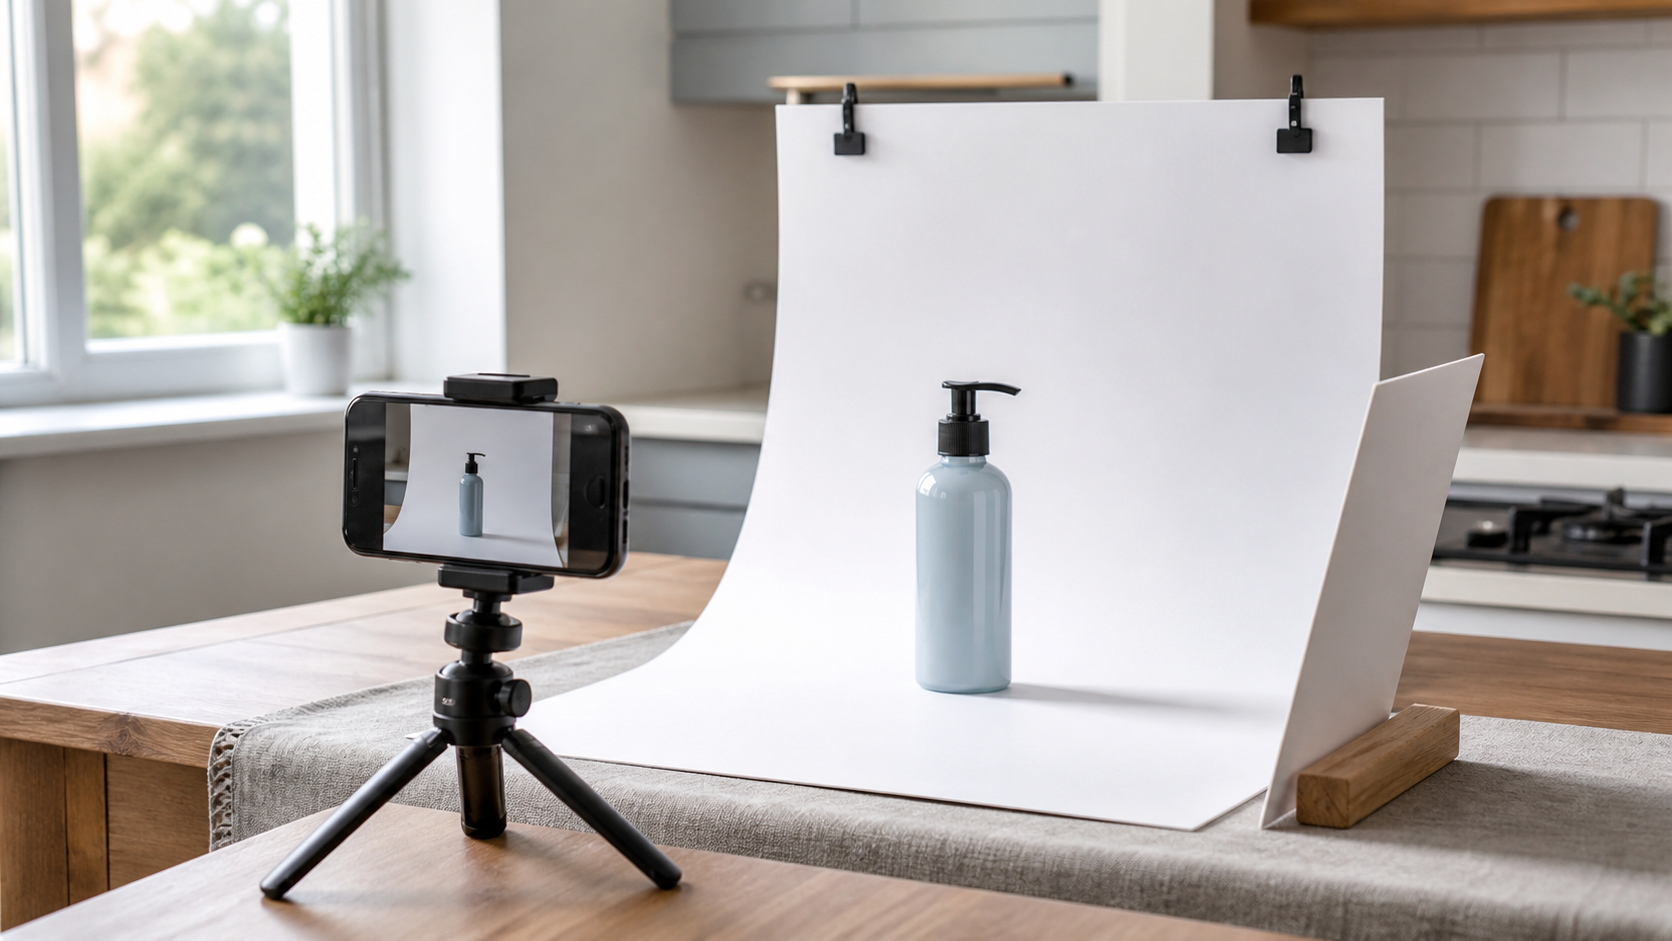
So I did what every broke e-commerce seller does — I grabbed my phone, taped a white poster board to my kitchen table, and started shooting. The results looked exactly like you'd expect: flat lighting, weird shadows, and a general vibe that screamed "homemade, not professional."
But here's the thing: I figured it out. And the gap between "homemade" and "professional" turned out to be way smaller than I thought — especially now that AI tools can handle the parts that used to require expensive equipment.
Here's everything I learned about product shot photography, distilled into a guide you can actually use today.
What Makes a Product Shot "Good" (And Why Most People Get It Wrong)
Let me save you months of trial and error with one insight:
A good product photo isn't one that looks pretty. It's one that sells.
There's a massive difference. A "pretty" photo might win you compliments on Instagram. A "sellable" photo answers every question a buyer has before they click "Add to Cart":
- What does it actually look like?
- How big is it?
- What's the texture, the color, the material?
- Can I see the label, the logo, the details?
If your product photo doesn't answer those questions, it doesn't matter how artistic the lighting is. It's not doing its job.
The real standard for e-commerce product shots comes down to five things:
- Sharpness — edges are crisp, labels are readable, textures are visible
- Color accuracy — what they see is what they get (returns are expensive)
- Clean background — the product is the star, not your kitchen counter
- Proper sizing — meets platform requirements (more on this later)
- Multiple angles — front, side, back, top, detail
Miss any of these, and you'll feel it in your conversion rate.
The Minimum Setup You Actually Need
Here's what you don't need:
- A DSLR camera
- A photography studio
- Softboxes, reflectors, or a lighting kit
- A degree in visual arts
Here's what you do need:
A smartphone (seriously)
Shopify's own product photography guide says it plainly: modern smartphones with 12MP+ cameras can produce professional-quality product images. If your phone was made in the last 3-4 years, you're good.
The key settings:
- Shoot at the highest resolution available
- Turn OFF the digital zoom (it destroys image quality)
- Lock your exposure and focus before shooting
- Turn OFF the flash — always
A $15 mini tripod
This is the single most impactful purchase you'll make. Camera shake is the #1 reason amateur product photos look blurry. A mini tripod eliminates it completely.
A white surface and a window
That's it. A white poster board ($2), a window with indirect sunlight (free), and you have a functional product photography setup.
Pro tip: Shoot between 10am and 2pm when natural light is most consistent. Close all other light sources in the room — mixing natural and artificial light creates ugly color casts that are a nightmare to fix later.
How to Shoot: A Step-by-Step Process
I'm going to walk you through the exact process I use for every product shoot. Once you've done it a few times, the whole thing takes under 10 minutes per product.
Step 1: Clean the product
I cannot stress this enough. Dust, fingerprints, lint, smudges — your camera will see ALL of it. Wipe everything down with a microfiber cloth before you start shooting.
This matters even more if you plan to use AI tools later. AI models treat everything in the photo as part of the product. That fingerprint on your bottle? It'll show up in every generated variation.
Step 2: Set up your background
Place your white poster board on a flat surface. Curve it up against a wall to create a seamless "sweep" — no hard line where the background meets the table.
For white products on white backgrounds: This is where most people mess up. Don't crank up the exposure to make the background "whiter." Instead, use a piece of black foam board on either side of the product to create edge definition. The product should separate from the background naturally, not fade into it.
Step 3: Position your light
Place your setup next to a window. The light should come from the side or slightly behind the product — never directly from the front (it kills texture and dimension).
If the shadows are too harsh, tape a piece of white tissue paper over the window as a DIY diffuser. Seriously, it works.
Step 4: Fix your camera position
Mount your phone on the tripod. Once it's set, don't move it. For your entire shoot, the camera stays fixed. You rotate the product, not the camera.
This is the secret to consistent catalog photos that look like they came from the same session — because they did.
Step 5: Shoot your angle matrix
For every product, I shoot at least these five angles:
| Angle | What it shows |
|---|---|
| Front / straight-on | The "hero" image — what buyers see first |
| 45-degree | The most natural, dimensional view |
| Side | Profile and depth |
| Back | Labels, ingredients, specs |
| Top-down / detail | Close-ups of texture, logo, key features |
Don't skip the back shot. Buyers on Amazon and Etsy want to read your labels before they buy.
The Cross-Platform Image Spec Nobody Tells You
Here's something that cost me weeks of rework because no tutorial mentioned it:
Amazon, Shopify, and Etsy all have different image requirements.
If you shoot to one platform's specs, you'll have to redo work for the others. Instead, shoot once at a higher standard, then export per platform.
The universal safe zone:
- Shoot at minimum 2000px on the longest side (covers Etsy's recommendation)
- Save originals as full-resolution, unedited files
- Export per platform:
- Amazon: White background, 1000px+ for zoom, max 10,000px
- Shopify: Square (2048×2048 ideal), max 5000×5000, under 20MB
- Etsy: At least 2000px, not too dark, not blurry, no collages on the main image
Pro tip: Name your files with the SKU and angle. "SKU123-front-white.jpg" saves you from the nightmare of renaming 200 images later.
Common Product Photography Mistakes (And How I Fixed Every One of Them)
Mistake #1: Mixed lighting
What it looks like: Yellowish or bluish tint across the image. White backgrounds look "dirty."
The fix: One light source only. Window light OR artificial light, never both. If you're using studio lights, make sure all bulbs are the same color temperature.
Mistake #2: Background too close to the product
What it looks like: Shadows bleeding onto the background, making "white" look gray.
The fix: Move the product further from the background. The more distance between your product and the backdrop, the cleaner and whiter your background will be.
Mistake #3: Shooting from too far away
What it looks like: Product is tiny in the frame, surrounded by wasted white space. You crop later and lose resolution.
The fix: Fill 70-80% of your frame with the product. You can always crop tighter, but you can't add resolution that isn't there.
Mistake #4: Not enough angles
What it looks like: A listing with 2-3 similar photos that don't actually help the buyer understand the product.
The fix: Use the angle matrix above. Five angles minimum. More for complex products.
Mistake #5: Expecting post-production to fix everything
What it looks like: Dusty products, crooked labels, fingerprints — all visible after "editing."
The fix: Spend 80% of your effort on getting the shot right in-camera, and 20% on editing. Not the other way around. Canon's product photography guide puts it simply: make sure your product is "pristine and camera-ready" before you press the shutter.
Where AI Product Photography Fits In (And Where It Doesn't)
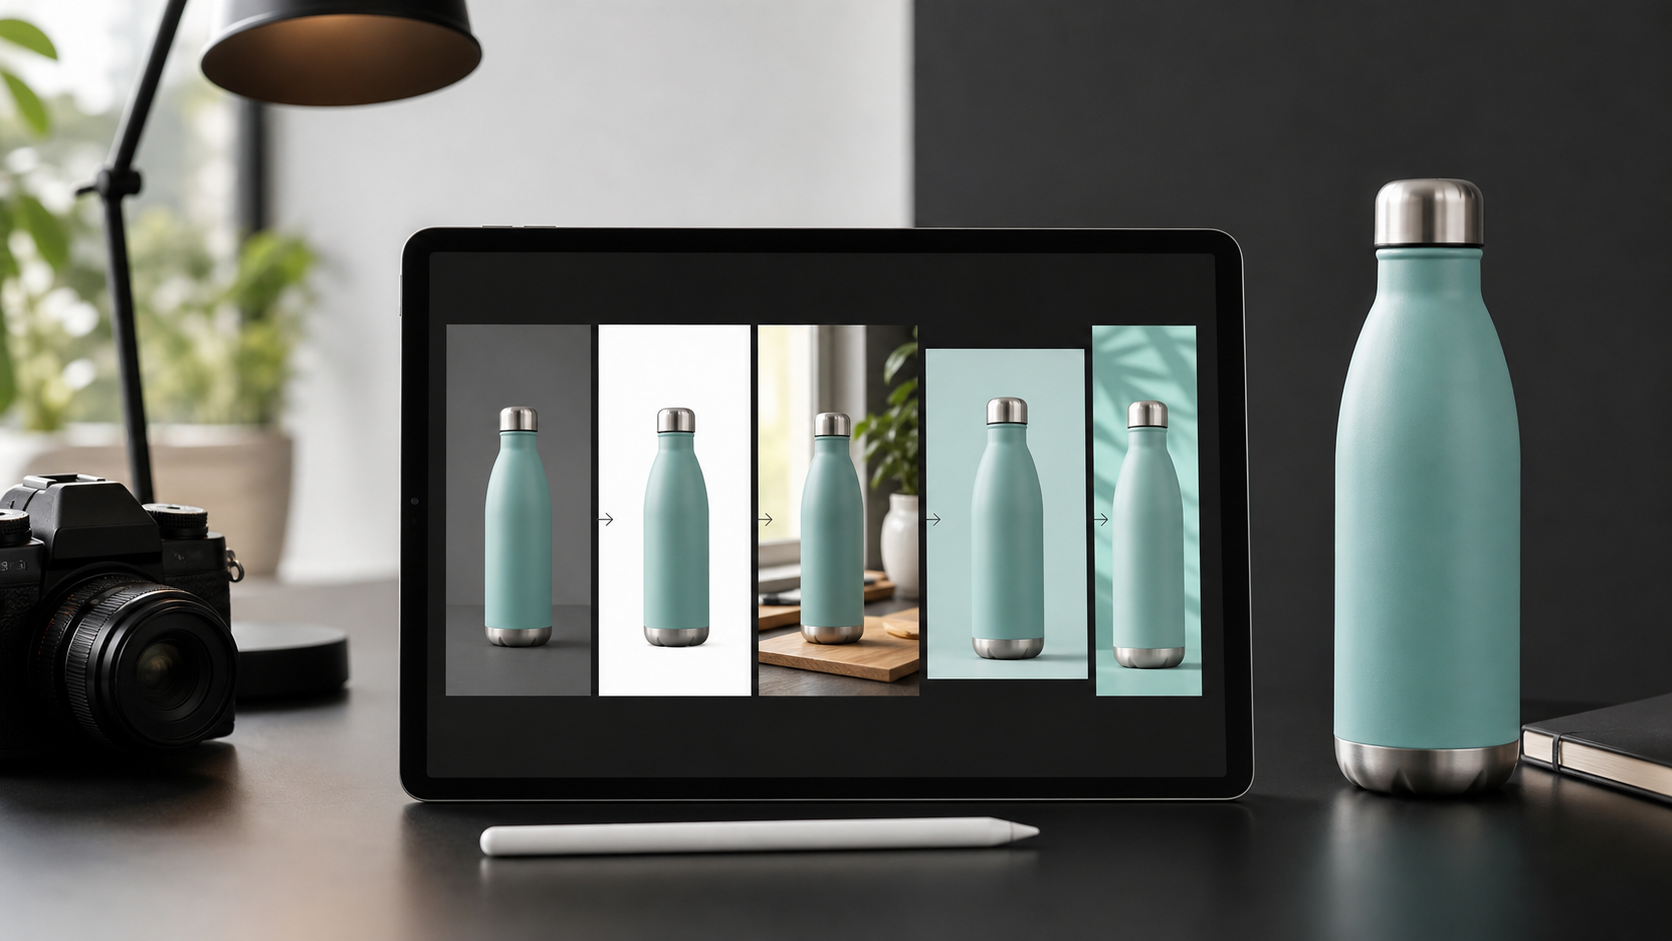
Now for the part you've been waiting for.
Here's my honest take after using AI product photography tools for the past year:
AI is not a replacement for good product photography. It's a multiplier for it.
Let me explain.
What AI does brilliantly
Once you have a clean, sharp, well-lit source photo of your product, AI can:
- Generate white background versions that meet Amazon's pure-white requirements
- Create studio-style photos with professional lighting — without renting a studio
- Produce lifestyle scenes — your product on a kitchen counter, in a living room, on a beach
- Scale variations — need 6 different backgrounds for A/B testing? Done in minutes, not days
- Maintain consistency across your entire catalog
This is the workflow that Adobe themselves recommend: start with a real product photo, then use AI to generate backgrounds and scenes around it.
What AI still can't do perfectly
I'd be lying if I said AI was flawless. Here's where you need to be careful:
- Logos and text on packaging — AI can sometimes distort, blur, or alter labels. If your brand name is on the product, double-check every generated image.
- Color-critical products — AI can shift colors. For fashion, cosmetics, or food, always compare against the original.
- Complex transparent or reflective surfaces — Glass, liquid, chrome — these are still challenging for AI models.
- Exact packaging details — If a regulatory label needs to be 100% accurate, AI-generated versions need human review.
The golden rule: AI should modify the scene, not the product. If the tool is changing what your product looks like, that's a red flag.
The workflow that actually works
Here's the process I've settled on after months of experimentation:
- Shoot a clean source photo using the setup above (white background, good lighting, sharp focus)
- Upload to an AI product photography tool like ProductShot AI
- Lock the product — ProductShot AI has a feature called "Product Lock" that preserves your product's shape, color, logo, and packaging while rebuilding everything around it
- Generate multiple variations — white background, studio, lifestyle, seasonal
- QA every image — check logo, labels, color accuracy, proportions, and shadows
- Export at platform-specific sizes
From one source photo, I can now generate listing images for Amazon, Shopify, Etsy, social media ads, and email campaigns. What used to take a photographer two weeks now takes me an afternoon.
The Bottom Line
Professional product photography isn't about having the most expensive gear. It's about understanding a handful of fundamentals:
- Light matters more than camera. A phone with good window light beats a DSLR with bad lighting.
- Consistency matters more than creativity. Your catalog should look like it belongs together.
- The source photo matters more than the editing. Get it right in-camera, and everything downstream gets easier.
- AI is a tool, not magic. It amplifies quality — but it can't create quality from garbage.
If you're just starting out, here's your homework:
- Grab your phone and a mini tripod
- Set up next to a window with a white poster board
- Shoot 5 angles of one product
- Try ProductShot AI to generate studio and lifestyle variations from your best shot
The gap between "I took this on my phone" and "this looks like it came from a professional studio" has never been smaller. The tools are here. The process is simple. The only thing left is to actually do it.
Now go shoot something.